Welcome to the installation manual for the Honeywell TH3210D1004‚ a non-programmable digital thermostat designed for 24 VAC heat pump systems with auxiliary heat (2H/1C)․ This guide provides step-by-step instructions for installing and configuring your thermostat to ensure optimal performance and energy efficiency․
1․1 Product Overview
The Honeywell TH3210D1004 is a non-programmable digital thermostat designed for 24 VAC heat pump systems‚ including 2H/1C configurations․ It offers electronic control for precise temperature management and is compatible with auxiliary heat systems․ The thermostat features a front-load battery compartment for easy access and requires two AA alkaline batteries for operation․ Its compact design and user-friendly interface make it ideal for homeowners seeking reliable climate control without advanced programming․ The package includes the thermostat‚ wallplate‚ wall anchors‚ mounting screws‚ and an operating manual․ This model ensures efficient energy use and seamless integration with existing HVAC systems‚ providing a cost-effective solution for heating and cooling needs․
1․2 Important Safety Precautions
Before installing the Honeywell TH3210D1004 thermostat‚ ensure all safety guidelines are followed to avoid damage or injury․ Only qualified technicians should perform the installation‚ as improper handling can lead to system malfunctions․ Always turn off the power supply to the HVAC system before starting work․ Handle electrical components with care to prevent damage․ Follow all instructions carefully‚ as failure to do so may result in product damage or unsafe operating conditions․ Properly dispose of packaging materials and old thermostat components in accordance with local regulations․ Adhere to all safety precautions outlined in this manual to ensure a safe and successful installation․

System Requirements
The Honeywell TH3210D1004 thermostat is designed for 24 VAC heat pump systems with auxiliary heat (2H/1C)․ It supports up to 2 heating and 1 cooling stage․
2․1 Compatibility with Heat Pump Systems
The Honeywell TH3210D1004 thermostat is specifically designed for compatibility with 24 VAC heat pump systems‚ including those with auxiliary heat configurations (2H/1C)․ This thermostat supports systems requiring up to 2 stages of heating and 1 stage of cooling‚ making it ideal for standard heat pump setups․ It ensures seamless integration with existing HVAC systems‚ providing precise temperature control and energy efficiency․ Proper installation requires matching the thermostat’s wiring and configuration to the heat pump system’s specifications․ Always verify compatibility with your specific heat pump model before installation to guarantee optimal performance and avoid potential system conflicts․
2․2 Electrical Requirements
The Honeywell TH3210D1004 thermostat operates on a 24 VAC power supply‚ ensuring compatibility with standard HVAC systems․ It requires a dedicated 24-volt circuit‚ with no connection to 120/240 VAC power․ The thermostat is designed to be powered directly from the heating/cooling system’s transformer․ Additionally‚ it includes a front-load battery compartment for two AA alkaline batteries‚ which provide backup power during outages․ Proper electrical connections are critical to prevent damage and ensure reliable operation․ Always verify that the system voltage matches the thermostat’s requirements before proceeding with installation․ Miswiring or incorrect voltage can result in malfunction or damage to the unit․
Package Contents
The package includes the PRO TH3210D digital thermostat‚ wallplate‚ operating manual‚ wall anchors‚ mounting screws‚ and two AA alkaline batteries for reliable operation․
3․1 List of Included Items
The Honeywell TH3210D1004 package includes the following items to ensure a complete installation:
- PRO TH3210D digital thermostat with wallplate attached to the back for easy installation․
- Operating manual providing detailed instructions and guidelines for setup and usage․
- Wall anchors and mounting screws (2 each) for secure wall mounting․
- AA alkaline batteries (2) to power the thermostat․
These components are designed to ensure a straightforward and efficient installation process for your thermostat system․
Tools and Supplies Needed
To install the Honeywell TH3210D1004 thermostat‚ you will need the following tools and supplies:
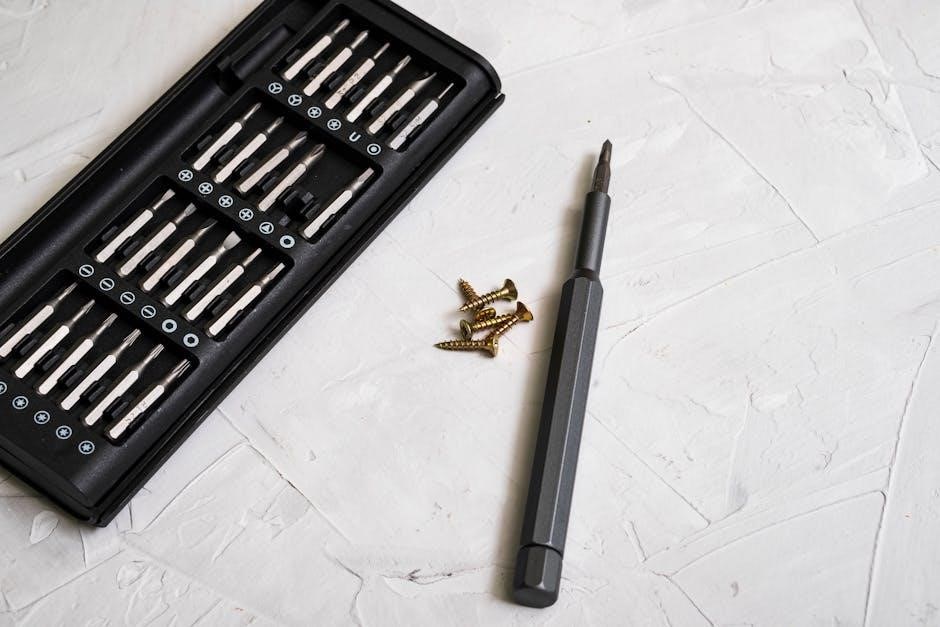
- Drill and drill bits
- Screwdriver (Phillips and flathead)
- Pliers and wire strippers
- Level for accurate wall mounting
- Wire nuts or connectors
- Voltage tester (optional)
4․1 Essential Tools for Installation
To successfully install the Honeywell TH3210D1004 thermostat‚ gather the following essential tools and supplies:
- Drill and drill bits for making holes in the wall․
- Screwdriver set (both Phillips and flathead) for securing the wallplate and thermostat․
- Pliers and wire strippers for handling and preparing wires․
- Level tool to ensure the wallplate is properly aligned․
- Wire nuts or connectors for secure wire connections․
- Voltage tester (optional but recommended) to verify power is off before starting․
Having these tools ready will streamline the installation process and ensure a safe setup․ Always follow safety guidelines when working with electrical systems․
Installation Steps
Begin by removing the wallplate from the thermostat‚ then pull wires through the hole․ Position the wallplate on the wall‚ ensuring it is level‚ and secure it with screws․ Mount the thermostat onto the wallplate‚ connecting the wires according to the wiring diagram․ Tighten all connections firmly to ensure proper functionality․ Finally‚ restore power and test the system to confirm everything operates correctly․
5․1 Wallplate Installation
Begin by removing the wallplate from the back of the thermostat․ Pull the wires through the wire hole in the wallplate․ Position the wallplate on the wall‚ ensuring it is level using a spirit level․ Mark the screw holes with a pencil‚ then drill pilot holes if necessary․ Insert wall anchors into the holes and screw the wallplate securely into place․ Ensure the wallplate is firmly attached to the wall to support the thermostat’s weight․ Double-check that the wallplate is level before proceeding to mount the thermostat․ This step is crucial for proper thermostat function and appearance․ Use the provided screws and anchors for a secure installation․
5․2 Mounting the Thermostat
After installing the wallplate‚ align the thermostat with the wallplate‚ ensuring the mounting tabs on the thermostat fit securely into the slots on the wallplate․ Gently push the thermostat onto the wallplate until it clicks into place․ Ensure the thermostat is level and firmly attached․ If necessary‚ adjust the alignment to prevent tilting․ Once mounted‚ insert the AA alkaline batteries into the battery compartment‚ following the polarity indicators․ Close the battery compartment securely․ Finally‚ turn the power back on at the circuit breaker and verify the thermostat’s display lights up and functions correctly; Proper mounting ensures reliable operation and ease of use․ Use the provided screws if additional securing is needed․
5․3 Attaching the Thermostat to the Wallplate
Once the wallplate is securely mounted‚ align the thermostat with the wallplate‚ ensuring the mounting tabs on the thermostat fit into the corresponding slots on the wallplate․ Gently push the thermostat onto the wallplate until it clicks into place․ Make sure the thermostat is level and properly seated․ If necessary‚ adjust the alignment to ensure a flush fit․ After securing‚ verify that all connections are tight and the thermostat is stable․ Finally‚ ensure the battery compartment is closed and the display is visible․ Proper attachment ensures smooth operation and prevents any mechanical issues․ Follow the manufacturer’s guidelines for a secure installation․

Wiring Designations
Understand the wiring labels (e․g․‚ R‚ W‚ Y‚ G‚ C‚ O‚ B) and their functions to ensure correct connections for heating‚ cooling‚ and power supply‚ as detailed in the manual․
6;1 Understanding the Wiring Diagram
The wiring diagram provides a visual representation of the thermostat’s connections‚ ensuring proper setup for heat pump systems․ Each terminal (R‚ W‚ Y‚ G‚ C‚ O‚ B) is labeled to indicate its function‚ such as power supply‚ heating‚ cooling‚ and fan control․ This diagram is essential for identifying the correct wires to connect‚ preventing errors during installation․ By following the diagram‚ you can ensure that your system operates efficiently and safely․ It is crucial to refer to this diagram throughout the installation process to avoid miswiring‚ which could damage the thermostat or the HVAC system․ Always double-check connections before powering on the system․
6․2 Color Coding and Terminal Designations
The Honeywell TH3210D1004 thermostat uses standardized color coding and terminal designations to simplify wiring․ The terminals are labeled as follows: R (24V power)‚ W (heating)‚ Y (cooling)‚ G (fan)‚ C (common)‚ O (heat pump)‚ and B (reversing valve)․ Typically‚ wires are color-coded to match these functions: red for R‚ white for W‚ yellow for Y‚ green for G‚ and blue for C․ Ensure the wiring matches the terminal labels to avoid system malfunctions․ Always verify the wiring configuration with your HVAC system’s specifications‚ as variations may occur․ Proper connections are critical for safe and efficient operation of your thermostat and heating/cooling system․
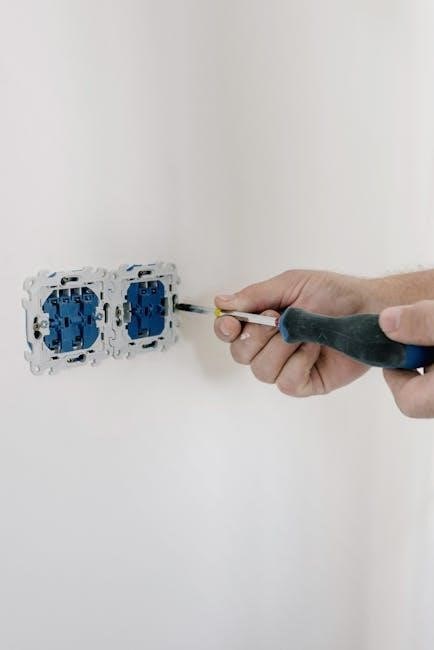
6․3 Connecting the Wires
Connect the wires to the thermostat terminals‚ ensuring they match the correct terminal labels․ Strip the wire ends and securely attach them to the appropriate terminals (R‚ W‚ Y‚ G‚ C‚ O‚ B)․ Tighten the terminal screws firmly to avoid loose connections․ Refer to the wiring diagram in the manual to confirm the correct configuration for your specific HVAC system․ Double-check all connections to ensure they align with the terminal designations and color coding․ Turn the power off at the circuit breaker before starting the wiring process to prevent electrical hazards․ Proper wire connections are essential for the thermostat to control the heating and cooling system accurately and safely․ Always verify the wiring configuration matches your system requirements before restoring power․

System Configuration
Configure the thermostat to match your HVAC system type‚ such as heat pump or conventional‚ and customize settings like temperature range‚ differential‚ and fan operation to suit preferences․
7․1 Configuring for Heat Pump Systems
To configure the Honeywell TH3210D1004 for heat pump systems‚ follow these steps:
Access the configuration menu by pressing and holding the “System” button․
Select “Heat Pump” as the system type using the navigation arrows․
Choose the appropriate auxiliary heat configuration (e․g․‚ electric or gas)․
Set the desired temperature range and differential for optimal performance․
Save your settings to ensure proper operation․ Refer to the wiring diagram for compatibility with 2H/1C systems․ Test the system after configuration to ensure all features function correctly․
7․2 Customizing Features and Settings
After configuring the system‚ customize features and settings to meet your preferences․ Adjust temperature limits‚ differential settings‚ and display options for optimal performance․ Use the navigation arrows to access the settings menu and modify parameters such as temperature range‚ heating/cooling differential‚ and display brightness․ Enable or disable features like temporary hold or remote sensor operation based on your needs․ Ensure all settings align with your heat pump system’s capabilities․ Save changes to maintain customized preferences․ Refer to the operating manual for detailed instructions on advanced settings and options to enhance energy efficiency and comfort․ Regularly review and update settings as needed․

Testing the System
After installation‚ perform a system test to ensure proper functionality․ Verify heating‚ cooling‚ and auxiliary heat operations․ Check temperature accuracy and thermostat response to adjustments․
8․1 Running a System Test
After completing the installation‚ run a system test to ensure all functions operate correctly․ Press the “S” button to activate the test mode․ Verify heating‚ cooling‚ and auxiliary heat operations․ Check for smooth transitions between modes․ Ensure the thermostat accurately maintains the set temperature․ Test battery operation by disconnecting power and confirming the display remains active․ Review all settings and features to confirm proper configuration․ If issues arise‚ refer to the troubleshooting section for guidance․ This test ensures your Honeywell TH3210D1004 thermostat is functioning as intended and provides reliable climate control for your home․

Troubleshooting Common Issues
Identify and resolve common problems like blank displays‚ incorrect temperatures‚ or system malfunctions․ Check battery levels‚ wiring connections‚ and system configuration․ Refer to the manual for detailed solutions․
9․1 Identifying and Resolving Common Problems
Common issues with the Honeywell TH3210D1004 include blank displays‚ incorrect temperature readings‚ or system malfunctions․ First‚ check the battery levels and ensure proper installation․ Verify wiring connections match the terminal designations in the manual․ If the display is blank‚ replace the batteries or check for loose connections․ For temperature inaccuracies‚ recalibrate the thermostat or ensure proper system configuration․ If issues persist‚ refer to the troubleshooting section in the manual for detailed solutions or contact a qualified technician․ Always follow safety precautions and manufacturer guidelines when resolving issues․
Maintenance and Upkeep
Regularly clean the thermostat display and ensure proper battery replacement․ Check wiring connections and update settings as needed to maintain optimal performance and efficiency․
10․1 Regular Maintenance Tasks
To ensure optimal performance‚ perform regular maintenance on your Honeywell TH3210D1004 thermostat․ Clean the display screen gently with a soft cloth to remove dirt or smudges․ Replace the AA alkaline batteries every 12-18 months or when the low-battery indicator appears․ Inspect wiring connections periodically to prevent loose terminals‚ which may cause system malfunctions․ Additionally‚ review and update your thermostat settings as needed to match your heating and cooling preferences․ Finally‚ schedule annual maintenance with a qualified HVAC technician to ensure your entire system operates efficiently․ Refer to the user manual for detailed instructions and troubleshooting tips․
With the Honeywell TH3210D1004 installed and configured‚ you now have precise control over your heat pump system․ This thermostat offers reliability and ease of use‚ ensuring energy efficiency and comfort․ Proper installation‚ following the steps outlined in this manual‚ is crucial for optimal performance․ Regular maintenance‚ such as cleaning and battery replacement‚ will extend the lifespan of your device․ Should issues arise‚ refer to the troubleshooting section or contact a qualified technician․ By adhering to the guidelines provided‚ you can enjoy consistent heating and cooling while minimizing energy consumption․ Thank you for choosing Honeywell for your home comfort needs․

References and Warranty Information
For additional support‚ refer to Honeywell’s official website for comprehensive resources‚ including FAQs‚ troubleshooting guides‚ and updated documentation․ The Honeywell TH3210D1004 is backed by a limited warranty covering defects in materials and workmanship for a specified period․ Register your product on Honeywell’s website to activate warranty benefits․ For detailed warranty terms‚ including conditions and exclusions‚ consult the warranty certificate provided in the package or downloadable from the Honeywell support portal․ Contact Honeywell Customer Service for any warranty-related inquiries or claims․